Guides
OP–XY USB audio: plan your eight-channel recording
Record OP–XY over USB while keeping your main audio interface selected. Plan its eight-channel mode and the Audio Bridge Receive workflow on Mac.
By EURA Editorial · · Updated
Keep your audio interface and bring OP–XY into the session
Your microphone, speakers and headphones are already connected to your interface. You can add OP–XY over USB without rebuilding that setup. On an Apple Silicon Mac, Audio Bridge is our recommended starting point when keeping the existing interface selected is the priority: its desktop app opens the additional USB audio connection, and its Receive plugin brings that stream into the DAW. You keep the interface for the rest of the session. No Aggregate Device setup is required.
Audio Bridge is part of the EURA family. Explore EURA Audio Tools or check the Audio Bridge workflow and current testing status. This is our workflow recommendation, not a claim of lower measured latency or universal compatibility.
The current Audio Bridge target is macOS 12+ on Apple Silicon, using VST3 or Audio Unit plugins. Its public test report records OP–XY detection and stream opening with two inputs and two outputs. That does not verify OP–XY’s eight-channel mode through Audio Bridge. A complete eight-channel musical recording still needs to be checked on the exact firmware, Mac and DAW you will use.
Start with the version and the recording goal
Teenage Engineering released OP–XY OS 1.2.0 on 15 October 2026, adding multichannel USB audio. OS 1.2.1 followed on 26 October with fixes and optimizations; the routing feature described here originated in 1.2.0. Check the OS installed on the actual unit before following this workflow; a used listing does not prove its firmware version. Decide whether you want a stereo mix or separately routed parts. The update offers standard stereo, custom two-channel and configurable eight-channel output modes. Those are audio channels, so eight-channel output should not be read as a promise of eight independent stereo stems.

Teenage Engineering
Teenage Engineering OP-XY
View product →
Related productteenage.engineeringdownloads OP–XY/downloads/op-xyOpen source in a new tab teenage.engineeringnow/nowOpen source in a new tab
Choose the USB mode and map the channels
Open COM, then M1 for system settings, and select the USB settings section. Choose the output mode that fits the recording. The manufacturer describes four preset routings and four user-programmable routings for eight-channel operation. Write down which instrument or auxiliary sources you intend to send to each channel before assigning inputs in your recording software. A mode with more channels does not decide that mapping for you, and this guide does not assume a particular preset or DAW input order.
 teenage.engineeringOP–XY guide: com/guides/op-xy/comOpen source in a new tabteenage.engineeringnow/nowOpen source in a new tab
Receive OP–XY through Audio Bridge
- Keep your usual interface selected in the DAW’s input and output settings. Connect OP–XY directly to the Mac with a USB data cable, select the required USB audio mode on OP–XY, and keep the Audio Bridge app running.
- Activate the OP–XY stream in Audio Bridge. Load Receive on an instrument track in the DAW, select that stream, and inspect the channels actually exposed. If only two channels appear, resolve the device mode or connection before planning an eight-channel take.
- Route Receive’s outputs to recording tracks using your DAW’s plugin-output routing. Label each track for the OP–XY source it receives. Use mono or stereo destinations according to the map you chose; eight audio channels do not automatically mean eight stereo tracks.
- Record a short passage while changing one OP–XY source at a time. Play it back with live monitoring muted, check separation and stereo placement, and adjust the Receive buffer if the recording has dropouts. Keep one deliberate monitoring path so you do not hear a doubled signal.
Receive supplies the recording path; Send is optional for a return from the DAW to hardware that exposes a USB audio input. Audio Bridge documents one active Send instance per device. Do not route the return straight back into its own Receive path. The project lists physical Send workflows and long sessions as still needing validation, so establish that return separately before relying on it in a session.
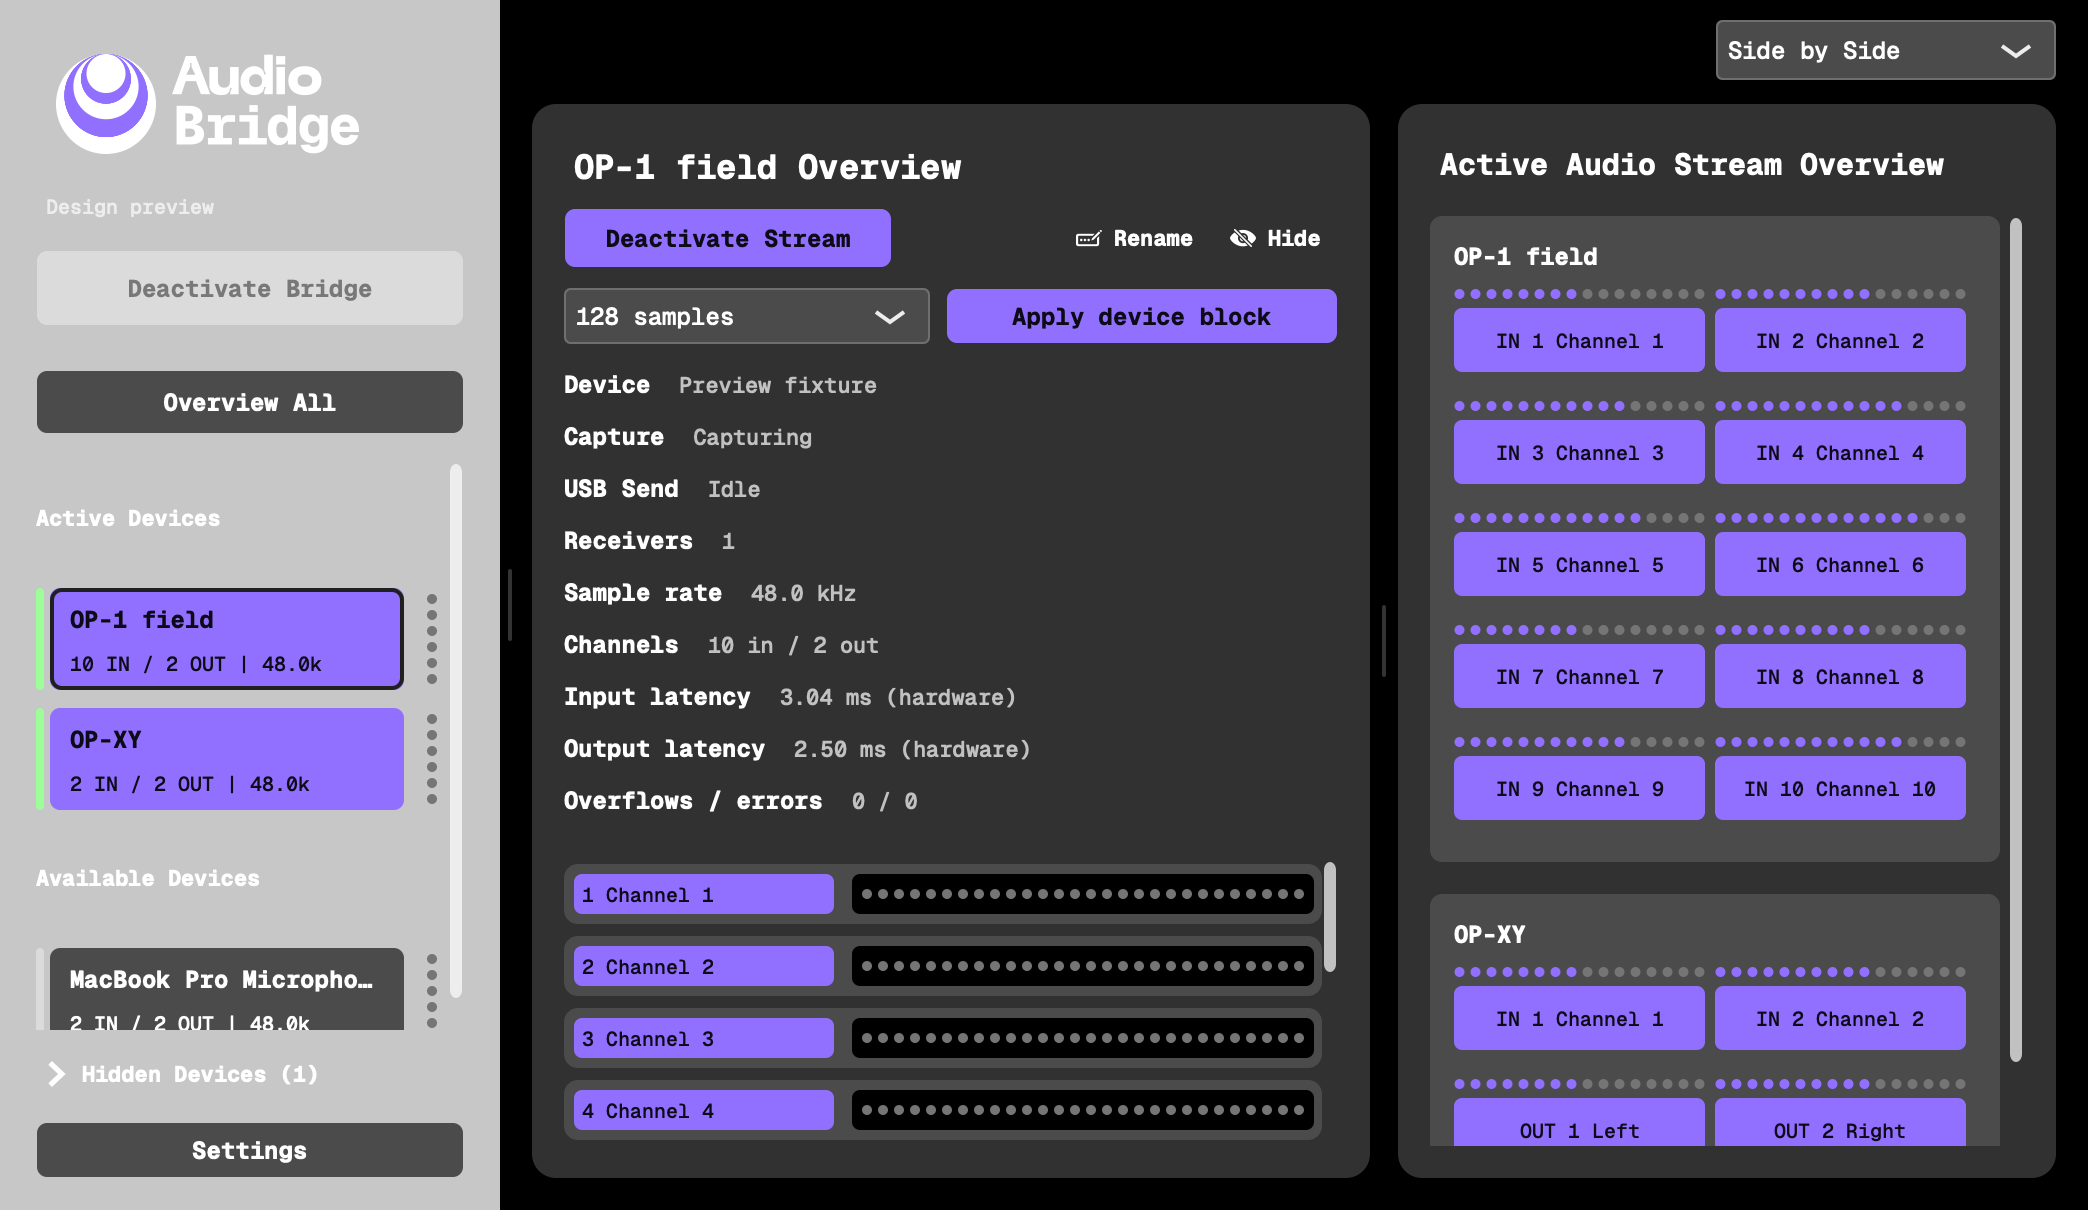 audio-bridge.eura.studioAudio Bridge — Multitrack USB recording for OP-1 field, M8 & moreRun multiple USB audio devices and plugin instances in one DAW session. Audio Bridge offers simultaneous streams and adjustable buffers for low latency.Open source in a new tab
Make a short routing check before the full take
As a practical check, record a short passage with one intended source sounding at a time, then play back the captured audio. Confirm that each source reaches the channel you assigned, and that any stereo pair you intend to keep is captured as two channels. Compare the recording with your monitoring path rather than assuming that hearing the OP–XY means every recorded input is correct. This is a proposed verification method, not a hands-on compatibility test of your computer, operating system or DAW.
teenage.engineeringOP–XY guide: com/guides/op-xy/comOpen source in a new tabKeep the project backup separate from the audio recording
Recorded audio is not a replacement for the editable OP–XY project. The manufacturer’s backup guide uses MTP file transfer and says an individual project backup includes both the project file and its backup folder. Copy the whole project folder to preserve all projects; the guide specifies field-kit on macOS. Retain that copy separately from the audio you record. Before changing firmware, consult the current official update instructions as well as the guide for the exact OP–XY version.
Related productteenage.engineeringOP–XY guide: how to/guides/op-xy/how-toOpen source in a new tabRelated productteenage.engineeringdownloads OP–XY/downloads/op-xyOpen source in a new tab